Okay well I have issues with getting plans in my head then putting them on paper then doing them in real life. Sometimes they are awesome sometimes they aren't. Well this project turned out.
The first thing I did was cut all my boards. Then I laid everything out to make sure it would work.
Then nailed the 1x4's on top of the 1x6s, you could use glue too, but I didn't. Shown below.
Cut List:1-2x4 (46 1/2 inches long) Top
2-2x4 (42 1/2 inches long) Sides
2-1x4 (35 inches long) top/bottom of main part of headboard
6-1x6 (24 inches long) Main part of headboard
*1x2 (24 inches long) I added this piece because I wasn't sure if it was going to be wide enough but you will have to measure your rails to see if you need the extra 2 inches
This plan works for twin size metal rails.
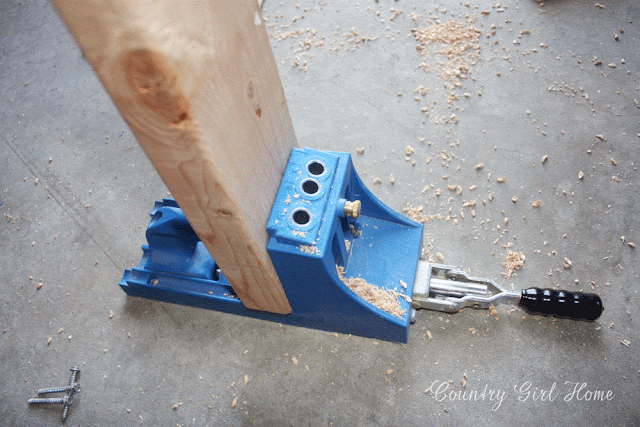
I am lucky to have a brother-in-law that lets me use some of his tools. Meet the KREGJIG! It is a fantastic little tool. It makes your furniture much more sturdy.
Here is where I drilled my holes to attach the main part of the headboard to the side legs and top.
Here it is all put together, ready for stain or paint. I will be using Stain. Minwax Walnut Stain.
Here is the headboard all stained and hooked to the bed frame. Sorry these pictures make the headboard look a bit red, but it is dark brown.


Cool, I saved this to make a headboard for the kids's room. I have that Kregg tool. that thing is the BOMB!!
ReplyDeleteIt turned out AWESOME! My boys have been in their twin beds for waaaay too long (I'm embarrassed to say how long), without headboards. I knew I wanted to do wood ones but couldn't decide on a style. LOVE yours!! Girl, you may just have given me the jolt to do them without the Mr.!
ReplyDelete