Thursday, January 23, 2014

Be my Valentine!

I have had my Valentines up since the first week of January. But I made a new banner this year. The heart and burlap one above my boxwood wreath. I cut burlap squares and red felt hearts glued them with a hot glue gun and strung it up. I love how it turned out. I tried to use things that I already had at my house.

 A close up of my heart banner.

I looked on pinterest.com for some free printable Valentine subway art. I liked this one the best.
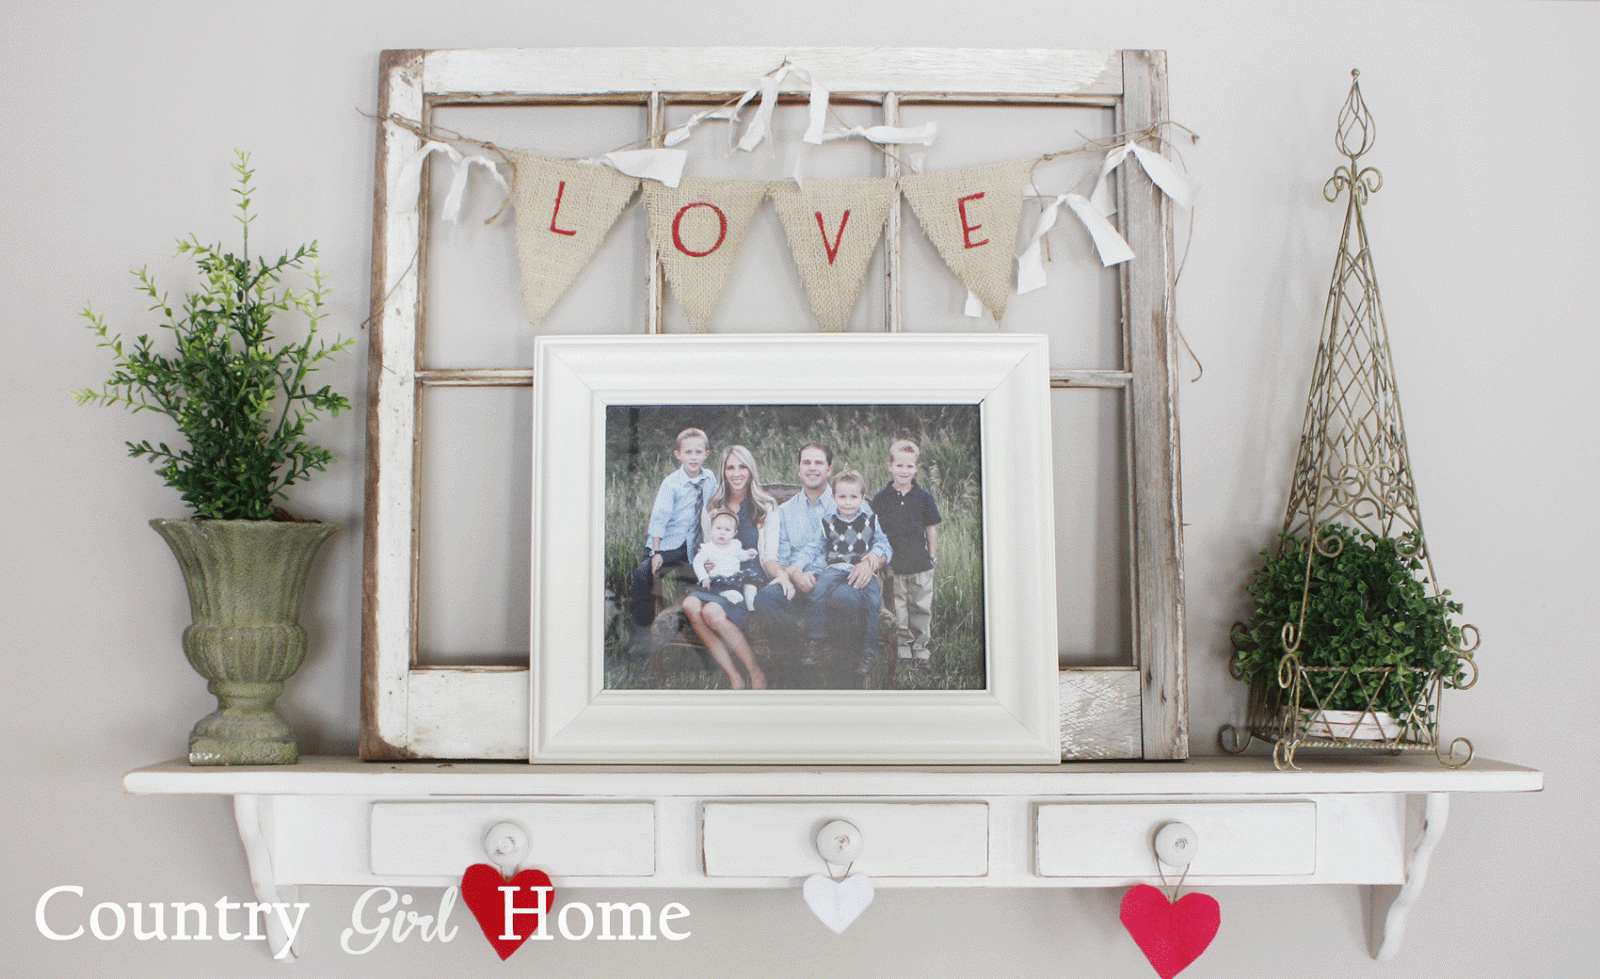
 My LOVE banner!!
 I got this cute pink love sign at Target for $1!!
 I LOVE old windows they are all over my house. This one has no panes or glass(yet) so I strung some felt hearts on it.
 I also made this banner for my front door. The wreath is from a thrift store for $1.00 I just added some red berry garland.

 
This year I also made some drop cloth pillow covers, used felt to make the hearts.
 My hubby walked in and said WOW! I can feel the Love!!

 
Lindsay

Monday, January 13, 2014

1st Birthday!!

1st Birthday Party
 
As most of you know I have 3 boys then last a girl. I have loved doing my boy themed Birthday parties, but it was time for something other than boy. Now that I have little girl, I get SO excited to do PINK girly things.
 
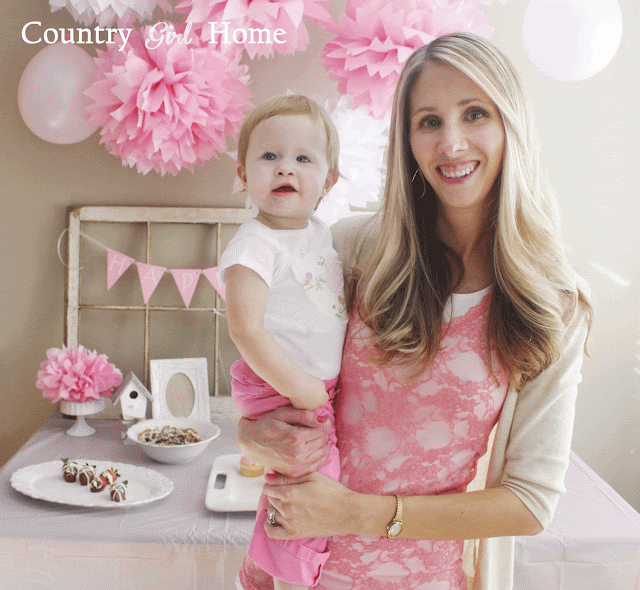
Here are some pictures of the big event.
I let the boys help me with the decorating. They might have had as much fun as I had.
 
I took some First Birthday pictures for her scrapbook. She had been teething and not in a great mood But I had to get some pictures on her birthday.  I gave her a pink bubble gum sucker, hoping it would cheer her up. It worked!! Instant happiness! Thank goodness.
 
 The rose "Smash Cake" Made by my ultra talented sister-in-law Laura. It was so pretty, I had  hard time letting her smash it. And the darling little cake stand lent to me by my other talented sister-in-law Cherie over at www.cherieamour.blogspot.com. They both made the perfect touches to a darling birthday party!
 Chocolate covered Strawberries, I made myself.
 Chocolate covered pretzels. Also made by me,  easy and yummy (I had to hide them from my family)
 Pink Rose Cupcakes
 Raspberry Sherbet and sprite.
 The desert table
 Me and my Birthday girl!
I cut out a bird silhouette and used Stich Witchery-(iron on stitching) to adhere  it to her Onsie. I should have taken a better picture before the smash cake, It was covered in frosting!!
 
Tissue paper flowers. I just love these. They only cost $1 each. They are really easy and cute! Hung them with fishing line.
Her birthday Crown. I made it out of paper, ribbon and sparkles.
More 1st Birthday Pictures... Oh. I just love her!
 
I used strips on fabric, lace and ribbon to make a garland to tie around her highchair.


Let the cake smashing begin! She was not as crazy as my boys have been on their 1st birthdays. She did get it all over in her hair and all over her clothes. She had a good time.
My little birthday helper.
It is good to have a birthday in January to look forward to.
This little baby girl has been such a blessing!
Happy Monday to you all!


Thursday, January 2, 2014

My parents half bath makeover..

 
Happy New Year!!
Out with the old and in with the new.
My sweet and supportive parents wanted to update their down stairs half bath. Who'd they call....ME! I was so excited to get started!
 
This is or should I say WAS my parents half bath. They really wanted a change from the jungle theme! I don't blame them. We needed a change, and quick!
BEFORE
BEFORE
Everytime I washed my hands I thought I would be attacked my the camel or elephant! AHHHH!
BEFORE
AFTER
The main goal was to update and brighten up the space.
Me, my mom and sister ripped all the wall paper off. It is pretty easy just get a spray bottle of water and saturate the wall you are working on then find a corner and get ripen! The whole room needed anew paint job. we cleared out the accessories and wiped the whole place down.
You can't se very good in this pictures but all the hardware and lighting are brass...hmmm not the look they were going for. We took  off the light and  spray painted it a dark brown color and rubbed them with some bronze paint. WOW what an improvement!  
We changed out the hardware, toilet paper holder and towel bar for new oil rubbed bronze ones from Lowes. The framed oval mirror is also from Lowes. .My hubby just so happens to be a plumber so we got a good deal on a nice new oil rubbed bronze faucet.
We put up some board and batten and painted the walls a creamy light tan color.
We left the ceiling white, to keep things bright. There is NO windows or any sort of natural light in this bathroom.

This is a hard wall to decorate. It is one huge curved wall so you can't hang pictures or anything on it.
With the help of my sister and parents we all made this project a success. It took us a months or longer. That is how a project goes when you are busy.
My mom went and purchased some new towels and accessories.
Picture frames were clearance at Michaels. She got the Door prints off pinterest.com and framed them.
Here the before and after's close together
 
Before
After
Before
After
Before
After 
What remodels are you planning for the new year?
I have to many ideas and just not enough time or money :(
But I have great plans for 2014!!
I hope you had a wonderful Christmas and New Year.
Thanks for your support!
Lindsay